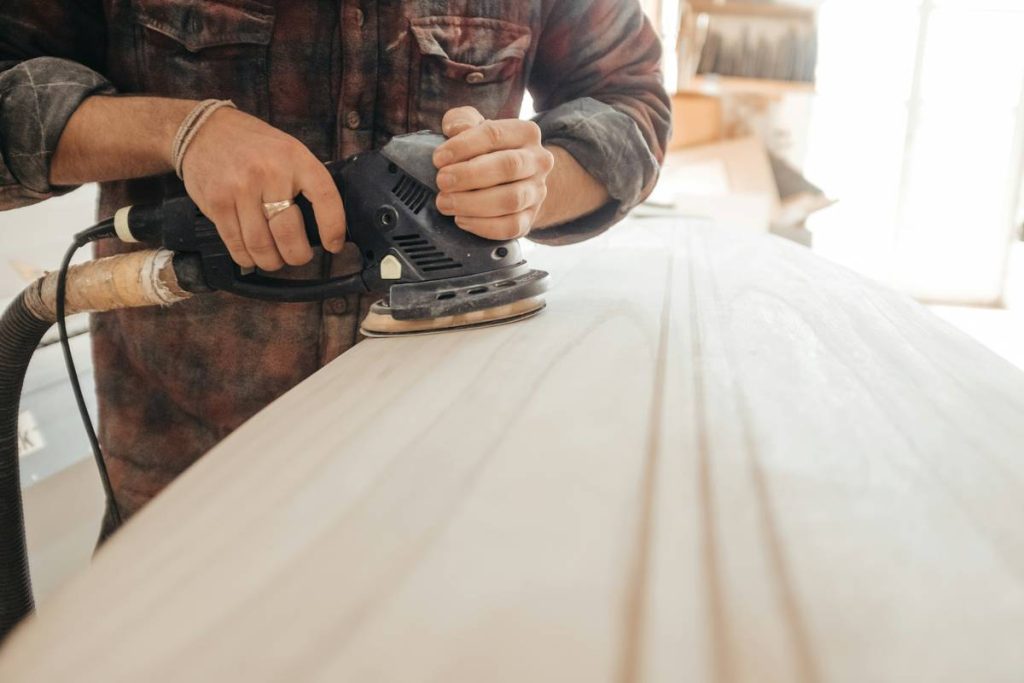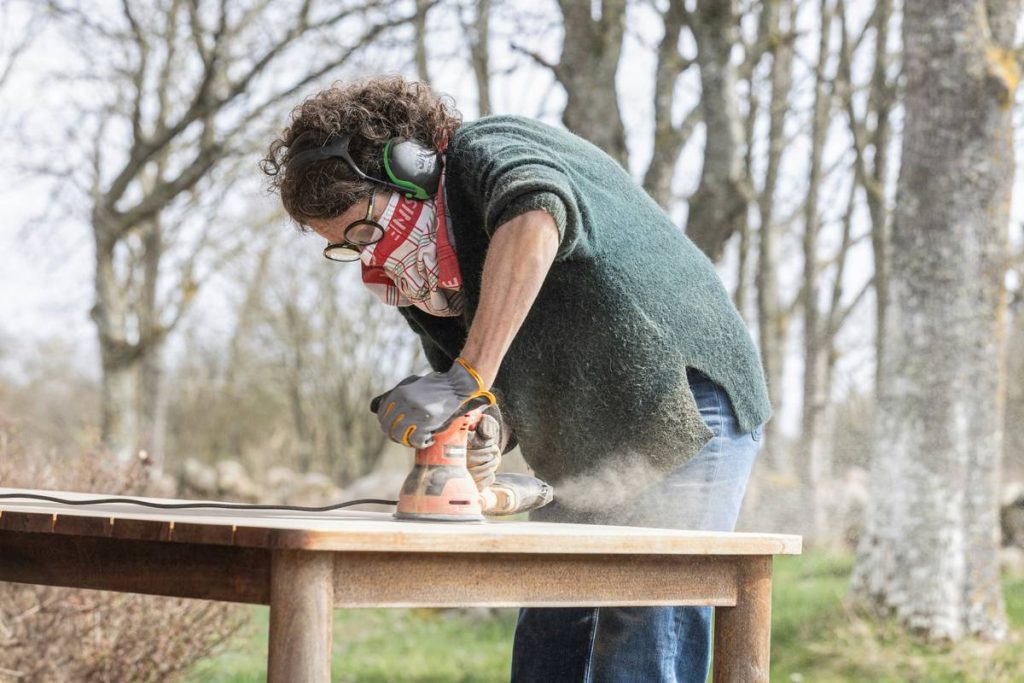
Ever spent hours sanding only to find swirl marks ruining your finish? You’re not alone. Choosing the right sanding disc for orbital sander can make or break your home improvement project—especially when you’re working with hardwood floors, auto body panels, or delicate cabinetry. At Berry Collision, we’ve seen professionals and weekend warriors alike waste time, money, and perfectly good wood due to mismatched abrasives. In this guide, we’ll walk you through exactly how to select, install, and use the right discs so you get a flawless surface every time—without the frustration.
Table of Contents
- Why the Right Sanding Disc Matters in Home Improvement
- Step-by-Step Guide to Choosing & Installing Your Disc
- 5 Best Practices for Long-Lasting, Swirl-Free Results
- Real-World Examples: What Works (and What Doesn’t)
- Frequently Asked Questions
Key Takeaways
- Not all sanding discs are compatible with random orbit sanders—check backing type (hook-and-loop vs. PSA).
- Grit selection directly impacts finish quality: coarse for stock removal, fine for prep before finishing.
- Using the wrong disc can cause overheating, premature wear, or irreversible swirl marks.
- Always match disc size (5-inch or 6-inch) to your sander’s pad.
- Store discs in a dry, flat container to preserve adhesive integrity and abrasive life.
Why the Right Sanding Disc Matters in Home Improvement
In home improvement—especially in collision repair, furniture restoration, or deck refinishing—the difference between a pro-grade finish and a botched job often comes down to one small component: the sanding disc for orbital sander. I learned this the hard way during a kitchen cabinet refinish last year. I grabbed whatever disc was on hand—80-grit PSA-backed—and slapped it onto my hook-and-loop sander. Ten minutes in, the disc peeled off mid-pass, leaving a gouge in solid maple. Lesson? Compatibility isn’t optional.

Random orbit sanders combine rotation and oscillation to minimize swirls, but they demand discs engineered for that motion. According to the Occupational Safety and Health Administration (OSHA), using incompatible abrasives is a leading cause of tool failure and surface damage in DIY and professional settings alike.
Step-by-Step Guide to Choosing & Installing Your Disc
1. Confirm Your Sander Type and Pad Size
Most consumer random orbit sanders use either 5-inch or 6-inch pads. Measure yours or check the manual. Don’t guess—using a 5-inch disc on a 6-inch pad causes uneven wear and vibration.
2. Match the Backing System
Two types dominate: pressure-sensitive adhesive (PSA) and hook-and-loop (Velcro-style). PSA discs stick permanently—great for long sessions but wasteful if you switch grits often. Hook-and-loop allows quick swaps, ideal for multi-stage sanding. Never force a PSA disc onto a hook-and-loop pad; it won’t adhere properly.
3. Select the Right Grit for the Job
Start coarse (60–80 grit) for paint removal or leveling surfaces. Move to medium (120–150) for smoothing, then fine (180–220) for final prep before staining or painting. Skip more than two grit levels at once, and you’ll reintroduce scratches.
4. Install Correctly
Center the disc on the pad before pressing down firmly. For hook-and-loop, ensure full contact. Misalignment causes wobble and premature motor strain.
5 Best Practices for Long-Lasting, Swirl-Free Results
- Let the tool do the work. Pressing too hard slows the orbit action and generates heat—this melts finishes and clogs abrasives fast.
- Use dust extraction. Blocked pores reduce cutting efficiency. Most modern sanders support vacuum attachment—use it.
- Rotate disc batches. Keep multiple discs per grit to extend life; alternating prevents localized clogging.
- Avoid “universal” discount discs. Many big-box store brands use inferior aluminum oxide that fractures under orbital stress. Stick with reputable brands like Mirka, 3M, or Norton.
- Store discs flat and dry. Humidity warps paper backings, causing uneven contact.
Terrible tip alert: “Just flip the disc over when it wears out.” Don’t. The non-abrasive side isn’t designed for sanding—it’ll scratch your surface and void your tool warranty.
Real-World Examples: What Works (and What Doesn’t)
Last summer, our team at Berry Collision restored a 1967 Mustang with rust-damaged quarter panels. We tested three approaches:
- Approach A: Cheap 80-grit PSA disc from a local hardware chain—failed after 12 minutes due to backing delamination.
- Approach B: Premium 80-grit hook-and-loop disc (Mirka Abranet)—lasted 45 minutes with consistent cut and minimal loading.
- Approach C: Reused worn disc—caused deep swirls requiring rework.
The winning method saved 2.5 labor hours per panel. That’s why we now standardize on high-performance mesh discs for metal prep—a practice backed by findings from the Wikipedia entry on abrasives, which notes that open-mesh designs resist clogging better than traditional paper.
Frequently Asked Questions
Can I use a regular sanding disc on a random orbit sander?
No. Regular straight-line sander discs lack the flexibility and backing compatibility needed for orbital motion. Using them risks poor adhesion, uneven wear, and potential ejection hazards.
What’s the best grit for removing paint from wood?
Start with 60–80 grit for aggressive stripping, then step up to 120 for smoothing. Always test on scrap first.
How often should I replace my sanding disc?
When cutting slows noticeably or the surface feels slick—usually after 15–30 minutes of continuous use, depending on material and grit.
Are hole-pattern discs necessary?
Only if your sander has dust extraction ports. Matching hole patterns maximize suction. If your tool lacks ports, solid discs work fine.
Do I need different discs for wood vs. metal?
Yes. Wood benefits from aluminum oxide; metal requires zirconia or ceramic grains that handle heat better without loading.
Where can I get expert advice on sanding equipment?
Reach out to our team via our Contact Us page—we’ve been matching tools to tasks since 2003. And rest assured, your data stays secure; see our Privacy Policy.
Remember: sanding isn’t about muscle—it’s about precision. Get the right sanding disc for orbital sander, and your next project won’t just look better—it’ll feel effortless.