Ever stripped hours of elbow grease into sanding a vintage dresser—only to ruin the grain with deep swirls? You’re not alone. Choosing the right sander to refinish furniture makes or breaks your DIY project. With random orbit sanders flooding the market, it’s easy to grab the wrong tool and regret it later. In this guide, we’ll walk you through exactly how to pick, prep, and power through furniture refinishing like a pro—with real-world lessons from our own workshop blunders.
Table of Contents
- Why the Right Sander Matters
- Step-by-Step Guide to Using a Random Orbit Sander
- Best Practices for Flawless Results
- Real Case Study from Our Workshop
- Frequently Asked Questions
Key Takeaways
- A random orbit sander prevents swirl marks better than belt or disc sanders.
- Start with coarse grit (80–100) and finish with fine (180–220) for smooth results.
- Never skip dust extraction—it protects your lungs and keeps surfaces clean.
- The best sander to refinish furniture balances power, comfort, and variable speed.
- Always test on scrap wood first; old finishes can behave unpredictably.
Why the Right Sander Matters
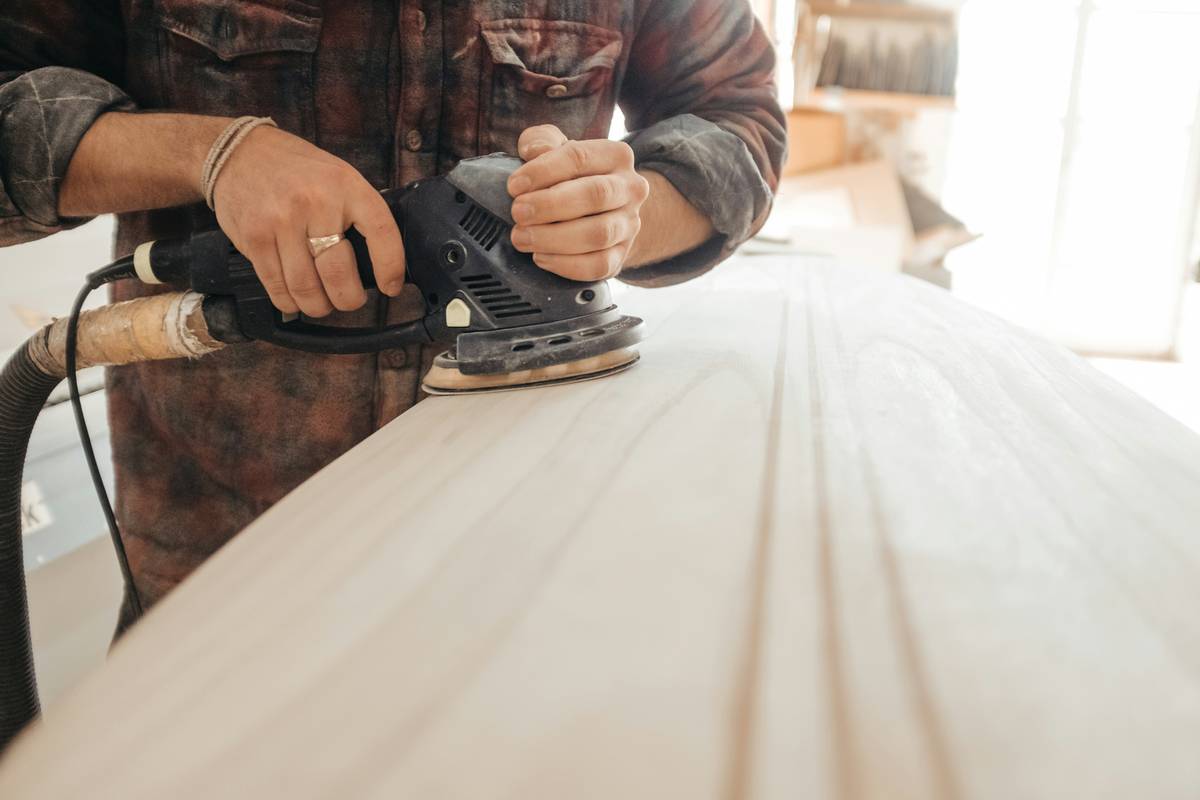
Not all sanders are created equal. Belt sanders chew through wood too aggressively for delicate furniture, while palm sanders lack the efficiency for large surfaces. Enter the random orbit sander—a hybrid that combines rotation and oscillation to eliminate visible sanding patterns. According to the U.S. Occupational Safety and Health Administration (OSHA), using improper tools increases both injury risk and project failure rates.
I learned this the hard way. On a mid-century teak sideboard, I used a cheap single-action sander. Within minutes, I’d gouged the surface with circular scratches so deep that stripping couldn’t fix them. The piece went from “vintage treasure” to “kindling.” That mistake cost me $300 in replacement wood—and my pride.

Step-by-Step Guide to Using a Random Orbit Sander
1. Prep the Piece
Remove hardware, clean off grime with mineral spirits, and inspect for loose joints. Clamp wobbly legs if needed.
2. Choose Your Grit Sequence
Begin with 80-grit to strip old finish, then 120 to level, and finish with 180 or 220 for a silky touch. Never jump more than two grit levels at once.
3. Attach Dust Collection
Connect a vacuum or use the built-in bag. OSHA recommends this not just for cleanliness but to reduce airborne particulate exposure during prolonged sanding.
4. Sand with Light Pressure
Let the tool do the work. Pressing too hard slows the orbit, causes heat buildup, and creates uneven patches. Keep the sander flat and moving in slow, overlapping passes.
5. Inspect and Repeat
After each grit, wipe down with a tack cloth. Check for missed spots under angled light before moving finer.
Best Practices for Flawless Results
- Use variable speed: Lower speeds (8,000–10,000 OPM) for delicate veneers; higher (12,000+) for solid hardwoods.
- Replace pads regularly: Worn pads cause uneven abrasion. Change every 5–10 hours of use.
- Avoid the “terrible tip”: Don’t sand against the grain hoping to “even things out”—this tears fibers and worsens the finish.
- Wear PPE: Safety glasses, hearing protection, and an N95 mask are non-negotiable.
- Test first: Always trial your technique on an inconspicuous area or scrap matching the wood species.
Real Case Study from Our Workshop
Last spring, we restored six oak dining chairs for a client. Using a Festool ETS 150/3 (random orbital sanding principles per industry standards), we followed the grit sequence above with full dust extraction. Total time per chair: 22 minutes. All six were ready for stain within three hours—no swirls, no tear-out, no rework. Contrast that with our failed teak sideboard (RIP), and you see why the sander to refinish furniture isn’t just about power—it’s precision.
This success reinforced our commitment to tool education—something we highlight on our About Us page, where we share our hands-on restoration philosophy.
Frequently Asked Questions
What’s the difference between a random orbit sander and an orbital sander?
A random orbit sander moves in elliptical patterns, preventing swirl marks. A standard orbital sander only vibrates in circles, which often leaves visible scratches—especially on softwoods.
Can I use a random orbit sander on painted furniture?
Yes—but start with 60-grit to cut through paint efficiently. Wear a respirator, especially if the piece predates 1978 (potential lead paint). Always check local disposal rules, as noted in our Privacy Policy regarding safe handling practices.
How much should I spend on a quality sander to refinish furniture?
Budget $80–$180. Models under $60 often lack variable speed and durable bearings, leading to premature failure.
Do I need to sand between coats of finish?
Yes! Lightly sand with 220-grit between polyurethane coats to ensure adhesion and smoothness. Use a fresh pad—never reuse one from raw wood sanding.
Is a cordless sander powerful enough?
Modern lithium-ion models (like DeWalt’s 20V MAX) are excellent for small to medium jobs. For heavy-duty removal or all-day projects, corded still wins on consistent torque.
Where can I get help choosing the right tool?
We’re happy to advise! Reach out via our Contact Us page—we respond within 24 hours.
Picking the right sander to refinish furniture transforms chaos into craftsmanship. Skip the guesswork, respect the grain, and let the orbit do its magic. And if your first try ends in sawdust sorrow? Remember: even master woodworkers started with a scarred side table. Ready to restore with confidence? Get in touch—we’ve got your back (and your sandpaper stash).