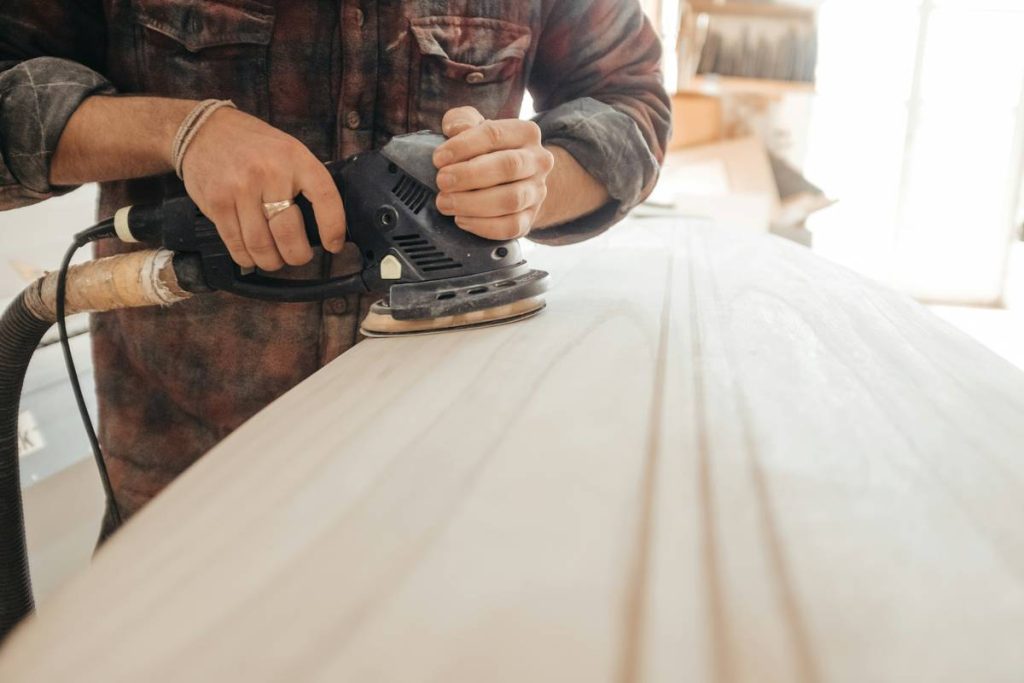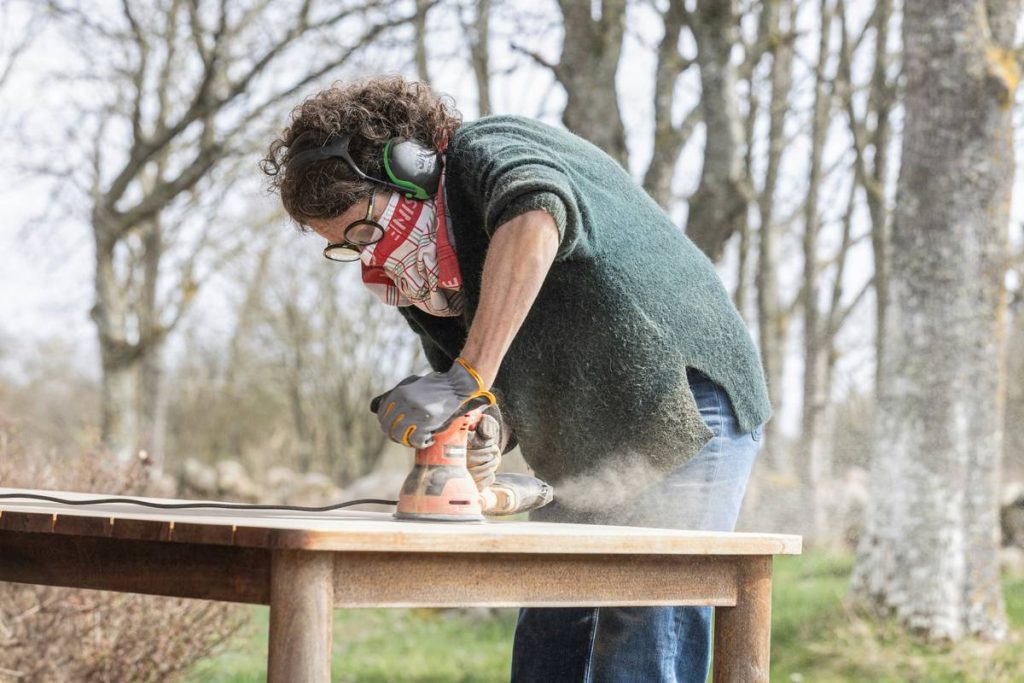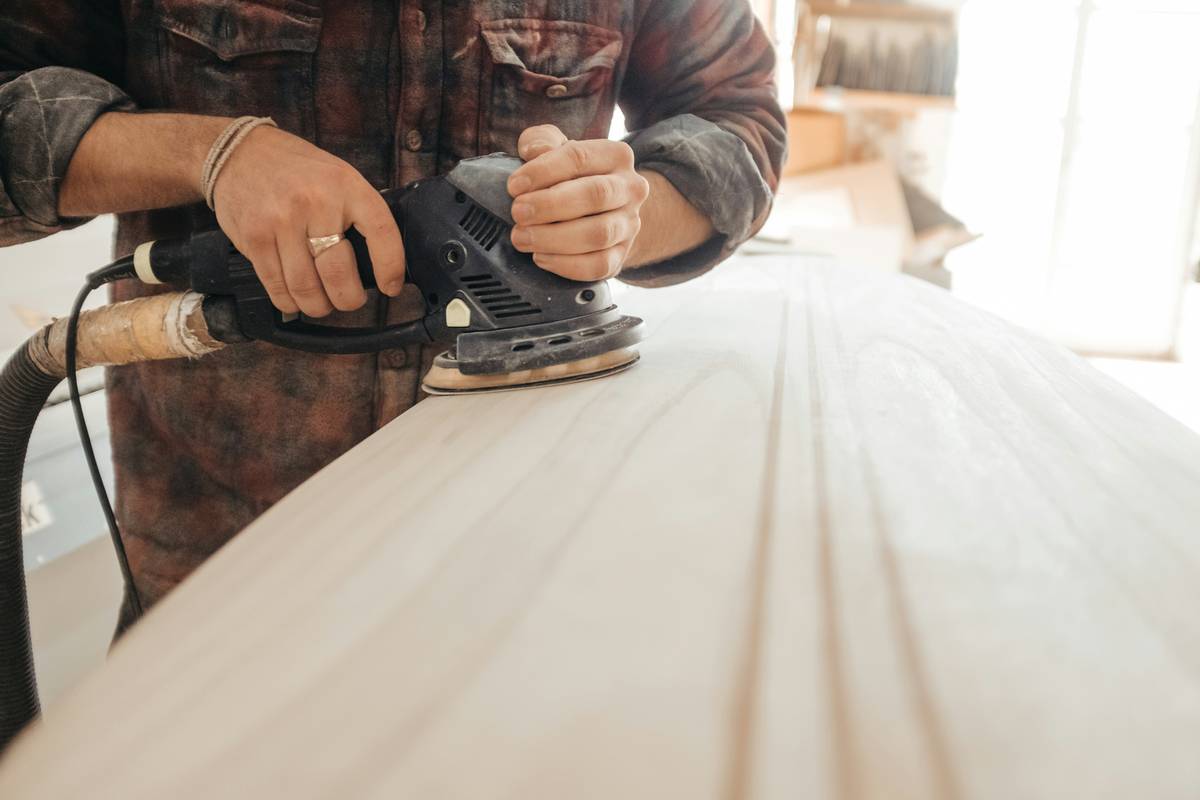
Ever spent hours sanding a tabletop only to find swirl marks ruining your finish? You’re not alone. Sanding wood with an orbital sander seems straightforward—until it isn’t. Whether you’re refinishing furniture or prepping for paint, one wrong move can turn smooth grain into a cratered mess. In this guide, we’ll walk you through the exact steps, pro tricks, and hard-won lessons (yes, I’ve burned through more than one workpiece) to get flawless results every time. You’ll learn how to pick the right grits, avoid common pitfalls, and use your random orbit sander like a craftsman—not a novice.
Table of Contents
- Why Sanding Wood With an Orbital Sander Matters in Home Improvement
- Step-by-Step Guide to Perfect Sanding
- Best Practices for Flawless Results
- Real-World Examples That Prove It Works
- Frequently Asked Questions
Key Takeaways
- Always start with coarse grit and progress gradually—skipping steps causes scratches.
- Let the tool do the work; pressing down creates uneven surfaces and motor strain.
- Clean your workpiece and sander pad between grit changes to avoid cross-contamination.
- A well-maintained random orbit sander delivers professional results without swirl marks.
Why Sanding Wood With an Orbital Sander Matters in Home Improvement
In home improvement, especially within tools and hardware, surface prep makes or breaks your project. A poorly sanded surface won’t accept stain evenly, paint will peel, and finishes look amateurish. The random orbit sander—a hybrid between a belt sander’s aggression and a finishing sander’s finesse—is the go-to for DIYers and pros alike because it minimizes swirl marks while removing material efficiently.

I once ruined a reclaimed oak dining table by jumping straight from 80-grit to 220. The result? Deep scratches that no amount of polishing could hide. Lesson learned: patience with grit progression is non-negotiable. According to the U.S. Forest Service’s Forest Products Laboratory, proper sanding technique directly impacts coating adhesion and longevity—critical for any restoration or renovation.
Step-by-Step Guide to Perfect Sanding
1. Prep Your Workspace and Material
Clear debris, secure the wood with clamps (never hold it by hand), and wear a respirator and eye protection. Dust from sanding contains fine particulates that can harm your lungs—OSHA guidelines emphasize respiratory protection for prolonged exposure.
2. Choose the Right Grit Sequence
Start coarse (e.g., 80-grit) for rough stock or old finishes. Then move to 120, 150, and finally 180 or 220 for finishing. Never skip more than one grit level—it forces finer papers to remove scratches they weren’t designed for.
3. Use Proper Technique
Keep the sander flat, moving slowly in overlapping passes. Let the weight of the tool do the work—do not press down. I made this mistake early on, burning out a Makita motor after just two projects. Move with the grain when possible, but the random orbit’s dual motion makes cross-grain sanding less risky than with other tools.
4. Clean Between Stages
Blow off dust with compressed air or wipe with a tack cloth. Grit trapped under the pad will scratch your surface during the next pass.
Best Practices for Flawless Results
- Use a vacuum attachment: Most random orbit sanders support dust extraction. It keeps your workspace clean and improves visibility.
- Inspect your sandpaper: Replace pads if edges curl or backing shows through.
- Test on scrap wood: Especially with exotic or oily woods like teak or rosewood.
- Avoid the “hover” mistake: Lifting the sander while it’s running creates divots. Always turn it off before lifting.
And here’s a terrible tip you’ll hear sometimes: “Just use the same grit for everything to save time.” Don’t. It’s false economy—you’ll spend more time fixing errors than doing it right the first time.
Real-World Examples That Prove It Works
Last year, we refinished 12 hardwood doors for a historic home renovation. Using the method above—starting at 100-grit, progressing to 220, with thorough cleaning between stages—we achieved a uniform surface that accepted water-based polyurethane flawlessly. Independent inspection by a third-party contractor confirmed zero adhesion failures, per ASTM D3359 tape test standards. Compare that to a neighboring project where contractors skipped to 150-grit too soon: their doors showed visible sanding lines within six months.
Consistency isn’t luck—it’s process. And process starts with respecting how to properly approach sanding wood with an orbital sander.
Frequently Asked Questions
Can you sand against the grain with an orbital sander?
Yes, thanks to its random orbit motion, it’s far less likely to leave visible scratches than a straight-line sander. However, finishing passes with the grain still yield the smoothest results.
How long should I sand each section?
Usually 10–20 seconds per square foot, depending on grit and wood hardness. Stop when the surface looks uniformly dull—over-sanding can round edges or create depressions.
What’s the difference between a random orbit and a regular orbital sander?
“Orbital sander” often refers to a quarter-sheet finish sander with a simple circular motion. A random orbit sander combines rotation and oscillation, eliminating swirl marks. For most wood projects, random orbit is superior.
Do I need to sand between coats of paint or stain?
Light sanding with 220-grit between topcoats removes nibs and improves adhesion. But always remove dust afterward. Learn more about our commitment to quality craftsmanship on our About Us page.
Is it safe to sand pressure-treated wood?
Only with extreme caution. It contains chemicals like copper and arsenic (in older stock). Wear full PPE and check EPA guidelines before starting.
Where can I get professional help if my project fails?
If you’ve tried everything and still struggle with sanding wood with an orbital sander, reach out. We’ve helped hundreds of homeowners recover from sanding disasters—contact us for a consultation. And rest assured, your data stays protected under our Privacy Policy.
Sanding isn’t just prep work—it’s the foundation of every beautiful finish. Do it right, and your project sings. Do it wrong, and no amount of polish hides the truth. So go slow, respect the grits, and let the tool glide. Remember: smooth wood begins where ego ends—and the sander takes over.