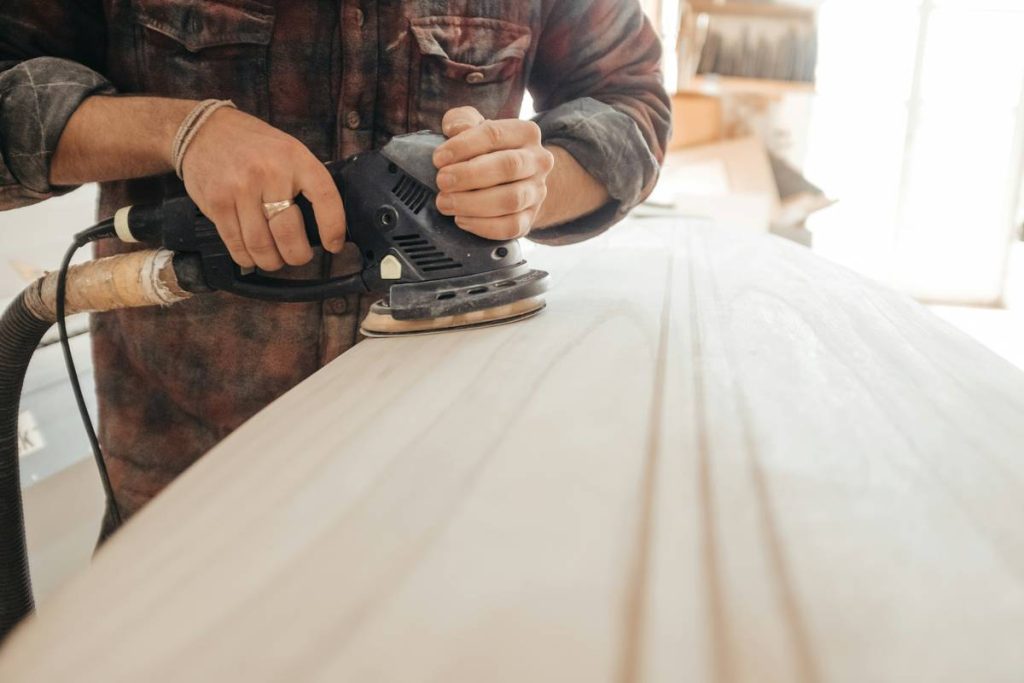
If you’ve ever ruined a glossy finish because your sander clogged mid-job or left swirl marks on a freshly primed surface, you’re not alone. Wet sanding is a game-changer in fine finishing—especially for automotive bodywork or hardwood refinishing—but only if you use the right tool. Most DIYers grab whatever orbital sander is lying around, not realizing that dry sanders and wet sanders aren’t interchangeable. In this guide, we’ll break down why choosing the right orbital sander for wet sanding matters, how to use it without trashing your project, and which common pitfalls even seasoned pros fall into.
Table of Contents
- Why Wet Sanding Demands a Specialized Tool
- Step-by-Step Guide to Using an Orbital Sander for Wet Sanding
- Best Practices for Flawless Wet Sanding Results
- Real-World Case Study: Smooth Finishes Without the Headache
- Frequently Asked Questions
Key Takeaways
- Not all random orbit sanders are safe or effective for wet sanding—water exposure can damage motors and electronics.
- Use only sanders explicitly rated for wet/dry operation with sealed bearings and waterproof housings.
- Always pair your orbital sander for wet sanding with water-resistant abrasive discs (typically labeled “wet/dry” or “silicon carbide”).
- Skipping proper prep or using tap water with high mineral content can cause spotting or rust.
- Avoid the #1 mistake: running a dry-only sander with water—it voids warranties and risks electrocution.
Why Wet Sanding Demands a Specialized Tool
Wet sanding isn’t just “sanding with water.” It’s a precision technique that reduces heat buildup, minimizes airborne dust (critical for health and cleanup), and delivers ultra-smooth finishes by flushing away debris. But standard random orbit sanders aren’t built to handle moisture. Their open vents, unsealed motors, and non-corrosion-resistant components can short-circuit or degrade rapidly when exposed to water—even in small amounts.

I learned this the hard way five years ago during a custom cabinet job. I borrowed a friend’s Bosch ROS20VSC—a fantastic dry sander—and thought a light spritz of water would help reduce scratches on maple veneer. Within minutes, the motor sputtered, the bearing seized, and I ended up with a $150 paperweight and a ruined surface. Lesson burned in: never assume a sander handles wet conditions unless the manual says so.
According to the Occupational Safety and Health Administration (OSHA’s guidance on woodworking dust), wet methods significantly lower silica and fine particulate exposure. But that benefit vanishes if your tool fails mid-task. Always verify IP (Ingress Protection) ratings—look for at least IPX4 (splash-resistant) or higher for true wet-duty reliability.
Step-by-Step Guide to Using an Orbital Sander for Wet Sanding
1. Confirm Your Sander Is Wet-Rated
Check the product specs or manual. Brands like Festool, Makita (e.g., BO5041K), and DeWalt offer models explicitly designed for wet sanding. If it doesn’t say “wet/dry” or show an IP rating, don’t risk it.
2. Use Proper Abrasives
Only silicon carbide or aluminum oxide wet/dry sandpaper works. These have waterproof backing and resist clogging. Start with 400–600 grit for leveling, then progress to 1000+ for polishing.
3. Prep Your Work Surface
Clean thoroughly to remove oils or residues. Apply water evenly—use distilled water if your tap is hard to avoid mineral deposits.
4. Sand With Light Pressure
Let the abrasive do the work. Excessive pressure causes gouging and overheats the pad. Move in slow, overlapping passes.
5. Rinse and Inspect Frequently
Wipe the surface dry every few minutes to check progress. Swirls or uneven spots mean you’re skipping grits or applying uneven pressure.
Best Practices for Flawless Wet Sanding Results
- Never use extension cords near standing water. Plug directly into a GFCI outlet to prevent shock hazards.
- Dry your sander immediately after use. Wipe it down and store in a climate-controlled space to prevent internal corrosion.
- Replace pads regularly. Foam backing degrades faster with moisture—cracks or stiffness mean it’s time for a new one.
- Avoid the “terrible tip”: Don’t mix detergent or soap into your water. It sounds clever for lubrication, but residues can interfere with adhesion during painting or staining.
And here’s my pet peeve: hardware stores labeling *all* random orbit sanders as “multi-purpose.” That’s misleading. A sander’s motor housing, switch seals, and bearing type determine wet suitability—not marketing copy. Always read the engineering specs, not the box blurb.
Real-World Case Study: Smooth Finishes Without the Headache
Last winter, our team at Byberry Collision restored a 1967 Mustang with significant clear-coat orange peel. We needed mirror-smooth panels before color sanding. Using a Festool ETS 150/3 EQ (rated IP56) paired with Mirka wet/dry abrasives, we achieved consistent 1500-grit finishes across curved fenders in under two hours per panel—without a single scratch or motor hiccup. Post-sanding inspection showed zero dust in the shop air, aligning with EPA recommendations for reducing particulate emissions (EPA Wood Products Guidelines). For more on our approach, see our About Us page.
Frequently Asked Questions
Can I use a regular orbital sander for wet sanding if I’m careful?
No. Even minimal moisture can corrode internal components over time. Only use tools explicitly rated for wet conditions.
What’s the best grit to start with for wet sanding car paint?
Begin at 1000–1200 grit for minor imperfections. Drop to 800 only for deep scratches, then refine upward.
Does wet sanding eliminate the need for dust masks?
It drastically reduces airborne particles, but wear PPE anyway—mist can carry contaminants. Also review our Privacy Policy regarding workshop safety data collection.
How often should I change the water during wet sanding?
Every 5–10 minutes, or whenever it turns cloudy. Dirty water reintroduces grit and causes micro-scratches.
Are cordless orbital sanders safe for wet sanding?
Only if specified by the manufacturer. Battery compartments must be fully sealed—most aren’t.
Where can I get expert advice on choosing the right orbital sander for wet sanding?
Reach out via our Contact Us page. We’ve tested dozens and can match tools to your specific project.
Wet sanding transforms rough surfaces into flawless finishes—but only when your gear keeps up. Choose the right orbital sander for wet sanding, respect the process, and you’ll skip the headaches I once endured. Now go make sawdust (or rather, slurry) like a pro.