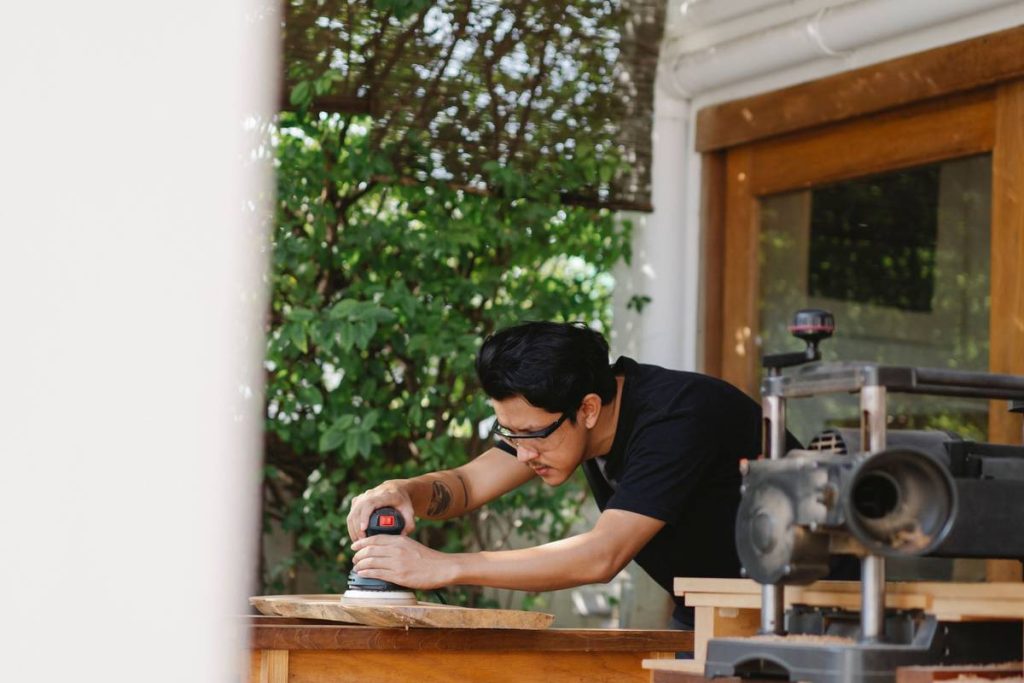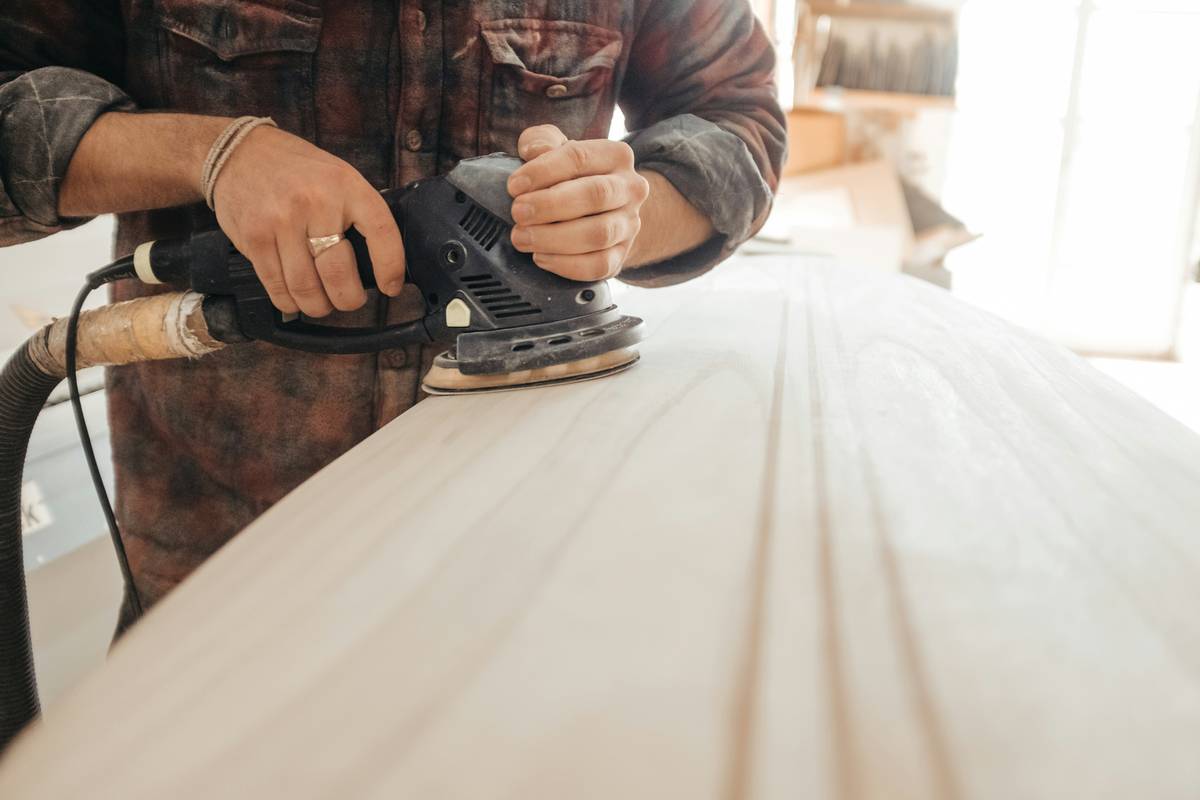
You bought a random orbital sander. You watched the “easy” YouTube tutorial. But your finish still looks blotchy, uneven—maybe even worse than when you started. Sound familiar? The truth is, 90% of DIYers misuse this tool not from laziness, but from bad advice. Here’s how to actually nail your next wood refinishing job using a diy random orbital sander—without sanding through veneer or wasting hours on grit roulette.
The Hidden Flaw in Most DIY Sanding Approaches
Random orbit sanders aren’t magic wands. They’re precision instruments masquerading as plug-and-play gadgets. The biggest mistake? Treating every surface like it’s raw lumber fresh off the mill. Particleboard? Veneered cabinets? Painted drywall edges? Each demands radically different pressure, speed, and grit sequencing.
And here’s the kicker—most beginners start with coarse grits they don’t need, creating deep swirls that take three extra steps to fix. The sander’s dual-action motion (rotation + orbit) hides scratches temporarily—but only if you respect the physics behind it. Ignore that, and you’ll spend more time filling gouges than finishing projects.
Step-by-Step Guide to Flawless Results with a DIY Random Orbital Sander
Forget vague tips. Follow this battle-tested sequence—tested on everything from oak stair treads to birch plywood cabinet doors.
Surface Diagnosis Before Power-On
Is it solid wood? Laminate? Already stained? Run your palm across it. Note glue spots, dents, or old polyurethane buildup. That tells you your starting grit—not a YouTube thumbnail.
Grit Progression That Actually Works
Jumping from 60 to 220 grit won’t save time—it wastes paper and ruins edges. Stick to 2–3 grit increments. For most refinishes: 100 → 150 → 220. For paint removal on hardwood? Start at 80—but never dwell in one spot.
Pressure & Motion Technique
Let the sander do the work. Pressing down = heat buildup = melted finish or torn paper. Keep it flat. Move slowly—about 1 inch per second. Overlap passes by 50%. And always sand with—not against—the grain direction, even though the orbit masks scratches.
| Starting Material | Recommended Starting Grit | Dust Control Tip | Common Pitfall |
|---|---|---|---|
| Raw hardwood (oak, maple) | 100 | Use vacuum attachment + P100 mask | Sanding across grain creates hidden cross-scratches |
| Veneered plywood | 150 | Hand-sand edges first—never machine them | Burning through thin top layer (<0.5mm) |
| Painted drywall or trim | 80 | Seal room with plastic; use HEPA filter | Overheating causes paint to gum up pad |
| Previously stained furniture | 120 | Wet wipe between grits to check uniformity | Assuming “smooth” means “ready for stain” |
The Industry Secret No Retail Brand Admits
Pad hardness matters more than motor RPM. Seriously. Most budget sanders ship with medium-density foam pads—fine for general use, but disastrous on contoured surfaces or softwoods like pine. Pros swap pads like chefs swap knives: soft pads for curves and delicate finishes, firm pads for flat, aggressive stock removal.
Here’s what manufacturers won’t tell you: a worn pad causes vibration imbalance, which mimics “motor failure.” Replace your hook-and-loop pad every 15–20 hours of use, not when it “looks bad.” And never—ever—use a damaged backing pad. It introduces harmonic wobble that etches invisible ripples into your surface. The math is simple: $8 pad replacement beats $200 redo.
FAQ
Can I use a random orbital sander on metal?
Only with specific abrasives—standard wood sandpaper clogs instantly. Use zirconia or ceramic discs rated for metal, and keep the surface wet to prevent overheating.
Why does my sander leave swirl marks even on high grit?
Dirty or clogged abrasive sheets create inconsistent cutting. Tap the pad clean every 2 minutes. Also, skipping grits forces finer paper to remove deeper scratches it can’t handle.
Is a cordless random orbital sander good enough for DIY?
For small jobs—yes. But sustained power matters. Under 18V models bog down on dense woods. Stick to 20V+ with brushless motors if you’ll sand more than 10 sq ft per session.