You spent hours stripping paint, filling dents, and prepping your project—only to ruin it with swirl marks from an off-the-shelf sander. Aggravating? Absolutely. The truth is, most weekend warriors grab any random orbital sander and call it a day. But precision work demands more. Enter the diy detail random orbital sander—a compact powerhouse built for tight corners, delicate edges, and pro-level smoothness without the pro price tag.
Why Standard Sanders Fail on Detail Work
Bulk sanders are beasts for flat surfaces—but they’re useless in recessed trim, curved moldings, or around hardware. Their large pads create uneven pressure, gouge softwoods, and leave ghosting you’ll only see under direct light. And don’t get me started on dust control. Most DIYers sand blind, breathing fine particulates while missing subtle imperfections.
Here’s the reality: surface prep isn’t just about removing material—it’s about sculpting texture. A standard 5-inch orbital might remove old finish fast, but it lacks finesse where it matters most.
Step-by-Step Guide to Using a DIY Detail Random Orbital Sander
Forget brute force. Precision sanding is strategic. Follow this method—refined through hundreds of cabinet restorations and auto body touch-ups—to achieve glass-smooth results every time.
Select the Right Grit Sequence
Start coarse (80–120 grit) only if removing old coatings or leveling deep scratches. For most detail work? Jump straight to 150. Then progress to 180, 220, and finally 320 for final smoothing. Skipping steps creates micro-scratches that amplify under stain or clear coat.
Master the Grip and Motion
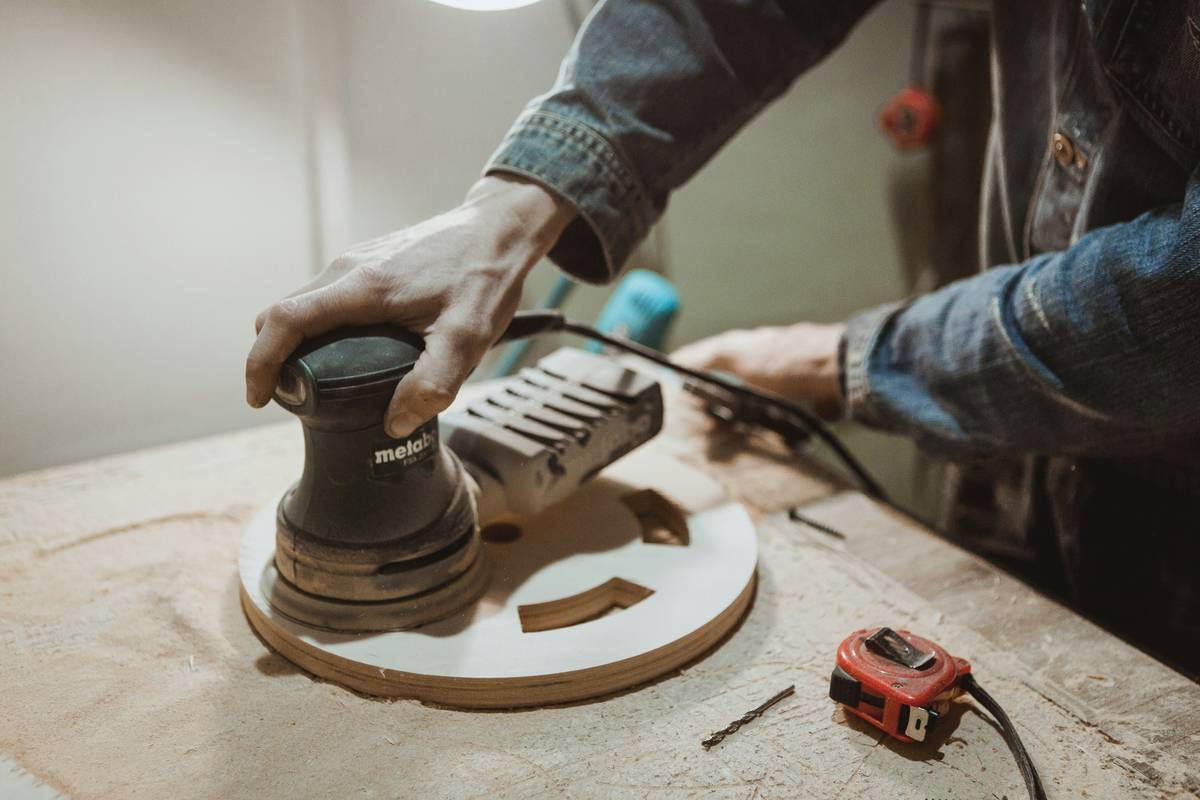
Hold the sander with two fingers on the trigger, palm cradling the base. Apply light, even pressure—let the tool do the work. Move slowly, overlapping passes by 50%. Rushing = heat buildup = melted wood fibers or burnt finishes.
Dust Extraction Isn’t Optional
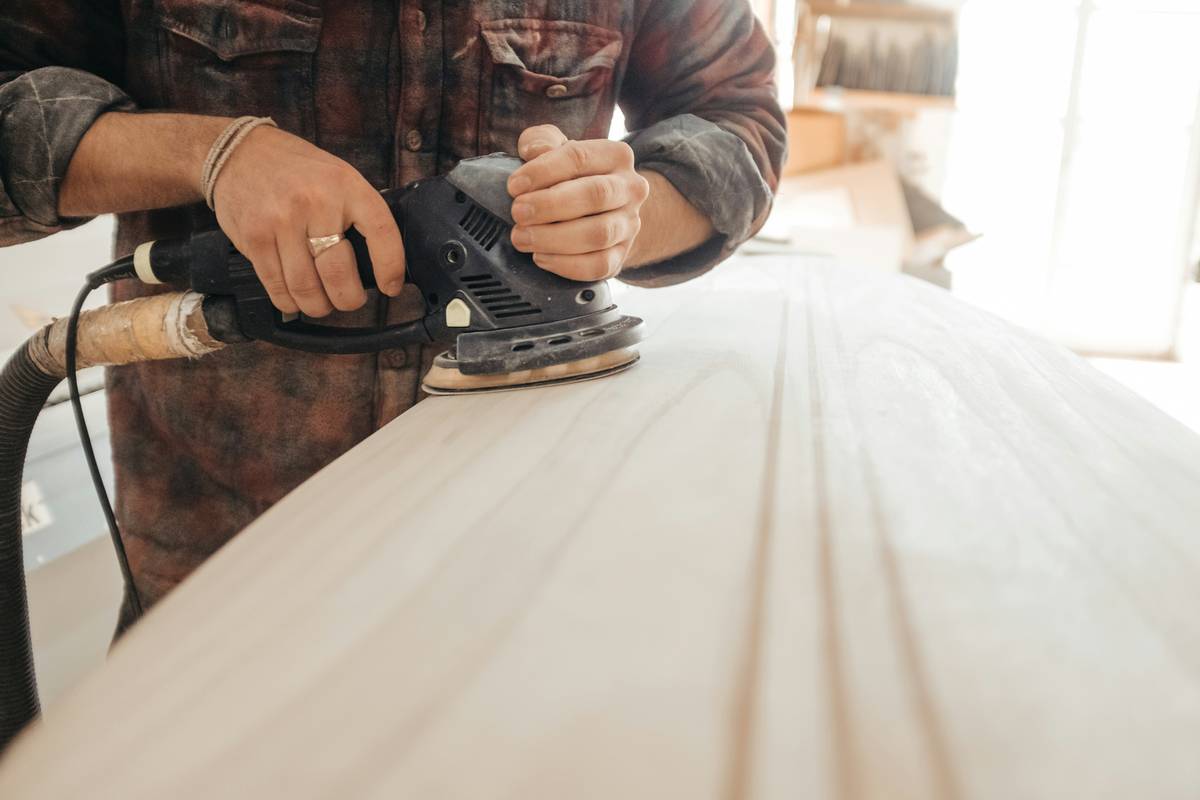
Use a shop vac with a HEPA filter. Sawdust clogs abrasive pores within seconds, reducing cutting efficiency by up to 70%. A sealed connection between sander and hose keeps visibility clear and lungs safe.
| Task | Recommended Grit Range | Sanding Time (per sq ft) | Common Mistake |
|---|---|---|---|
| Removing Paint from Trim | 80 → 120 → 180 | 45–60 sec | Using 60 grit—too aggressive for edges |
| Smoothing Drywall Patches | 120 → 150 → 220 | 30–40 sec | Sanding too long—creates depressions |
| Final Prep Before Staining Wood | 180 → 220 → 320 | 20–30 sec | Skipping 220—leaves visible scratch pattern |
The Industry Secret: Sanding “Backwards” for Perfect Transitions
Here’s something you won’t find in owner manuals: sand against the grain first—lightly—then finish with the grain. Counterintuitive? Maybe. Effective? Undeniably. Coarse grits cut faster across fibers, reducing tear-out on end grain or plywood edges. Then, a single pass with the grain erases cross-scratch patterns. Body shops use this trick for blending primer into feathered edges—now you can too. The math is simple: 90% of visible flaws come from inconsistent directionality, not grit choice.
Frequently Asked Questions
Can a detail random orbital sander replace hand sanding?
For 95% of detail work—yes. Its small pad contours better than your palm, and consistent speed eliminates human fatigue errors.
What’s the difference between a detail sander and a random orbital sander?
Traditional “detail sanders” use triangular pads with oscillating motion—great for corners but prone to gouging. A diy detail random orbital sander combines small size with true random orbit action, eliminating swirls.
How often should I change the sanding disc?
At first sign of reduced cutting—usually after 8–12 minutes of continuous use. Clogged discs generate heat and burn finishes.